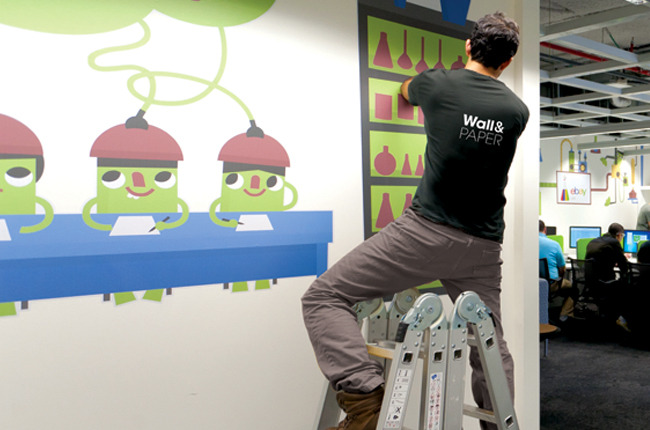
HOW TO Install

Installing is simple and convenient and requires minimal preparations and equipment.
To achieve the best results, we do recommend you consult a professional, especially if this is your first time hanging our wallpaper.
Utensils
Stanley knife, leveler, pencil, wide trowel, ladder, small and large paintbrush, paint roller, glue for non-woven wallpaper.
Preparations
Make sure the wall is clean, dry and smooth. Remove any sockets, switches or fixtures.
How is the wallpaper installed?
-
The wallpaper sheets are numbered, and should be installed from right to left with a 2 cm. overlap between each set of consecutive sheets.
-
Spread and position the strips along the wall using adhesive tape, making sure that the wallpaper size matches the wall. Remove the strips, rolling each one separately from the top down.
-
Draw a straight vertical line so that its distance from the right side of the wall is equivalent to the width of the first strip.
-
Spread glue across the area to be pasted, plus a bit extra.
-
Place the first strip along the wall, making sure that its left side is aligned with the line you drew (step 3), leaving a 3 cm. gap towards the ceiling as well as a remainder towards the bottom.
-
Cut the remaining wallpaper along the ceiling and panel using a Stanley knife and a wide trowel to achieve a straight line.
-
Hang each of the wallpaper strips one next to each other, with a 2 cm. overlap each.
-
To remove the overlap, cut the center of both layers on the overlap, using a Stanley knife and leveler to achieve a straight line. Remove both cut out layers, apply glue and paste the remaining piece of wallpaper.
-
For openings, such as doors, windows etc., cut out the frame using a technique similar to the instructions regarding the remainders along ceilings and panels (step 6).
